Your car is everything to you. You want to pamper it, love it, and polish it until it gleams like a shiny new penny. But, chances are, if it’s more than six months old, you’re going to have those dreaded swirl marks in your paintwork.
Is it possible to remove swirl marks? Yes, it is, but depending on just how bad they are, you could be looking at a quick wax, or something more involved. I’m going to give you the information you need so that you can understand just how to remove swirl marks. Fair warning though, there may be some manual labor involved!
What’s The Cause of Swirl Marks?
Swirl marks in your paintwork happen over time, it’s usually down to minute particles of airborne pollutants, debris, or even dust that settles on your car. They kind of get mixed in with the paintwork when it gets cleaned, wiped, waxed, and treated. Any time that something touches the paintwork really, including bare hands.
Assuming that the swirl marks are pretty bad, you’ll definitely need more than a drop of wax. And for some, professional treatment is the only way to remove them. However, if you’re willing to put in some elbow grease, you can restore your paintwork to better than new.
You’ll need to invest a few dollars in equipment, lotions, and potions, but these will last for a long time. Here are a few hints and tips from an automotive pro.
What You’ll Use
Let’s start with the basics. A list of equipment that you’ll need to get the job done. Some of it won’t be essential (it just makes life easier.) But, I’ll tell you where you can skimp and where you need full attention.
- Car Shampoo
- Cleaning Kit
- Microfiber Towels
- Clay Bar and Lubricant
- Wax
- Polishing Machine or Buffer
Ready? Let’s Begin

Removing swirl marks is just a case of working through processes, the very first one is to clean your auto properly, with a quality car shampoo, you could even use a foam cannon to help you out – these make life much easier.
Watch any professional valeting team and you’ll see that the first thing they do is use a mild cleaner sprayed directly on to the car. It’s usually something like a traffic film remover which helps to loosen any dirt particles before even getting near it with a sponge.
Once this has been applied and washed off, the next stage is soap or shampoo. Work it over the vehicle with a sponge or a wash mitt to remove the more stubborn marks and ingrained dirt. Keep one mitt for the bodywork and one for the wheels. You will find that the wheels are harder to clean properly. You may even want to get some proper wheel cleaning solution.
Once you’ve gone over the vehicle with the wash mitt, it’s time to wash it off. A power washer is great for blasting the dirt and foam away. It will reach into the areas that you can’t. Give it a thorough blasting so you know that all of the dirt, foam, soap has gone.
Clay Bar
Before getting into the intricacies of claying your car, it should be said that some people recommend drying the vehicle totally. Others say it won’t harm it to leave it wet. We think it’s best to leave it wet or at least not bother drying it. You’ll be using a lubricant with the clay bar anyway.
A clay bar is an essential tool for getting rid of swirl marks. It’s a soft(ish) bar, almost like putty, that physically lifts the ingrained dirt like tree sap, brake dust, bird droppings. It pretty much removes any of the airborne particles that land on your car. It takes care of the stuff that gets ingrained into the paintwork and won’t just wash off.
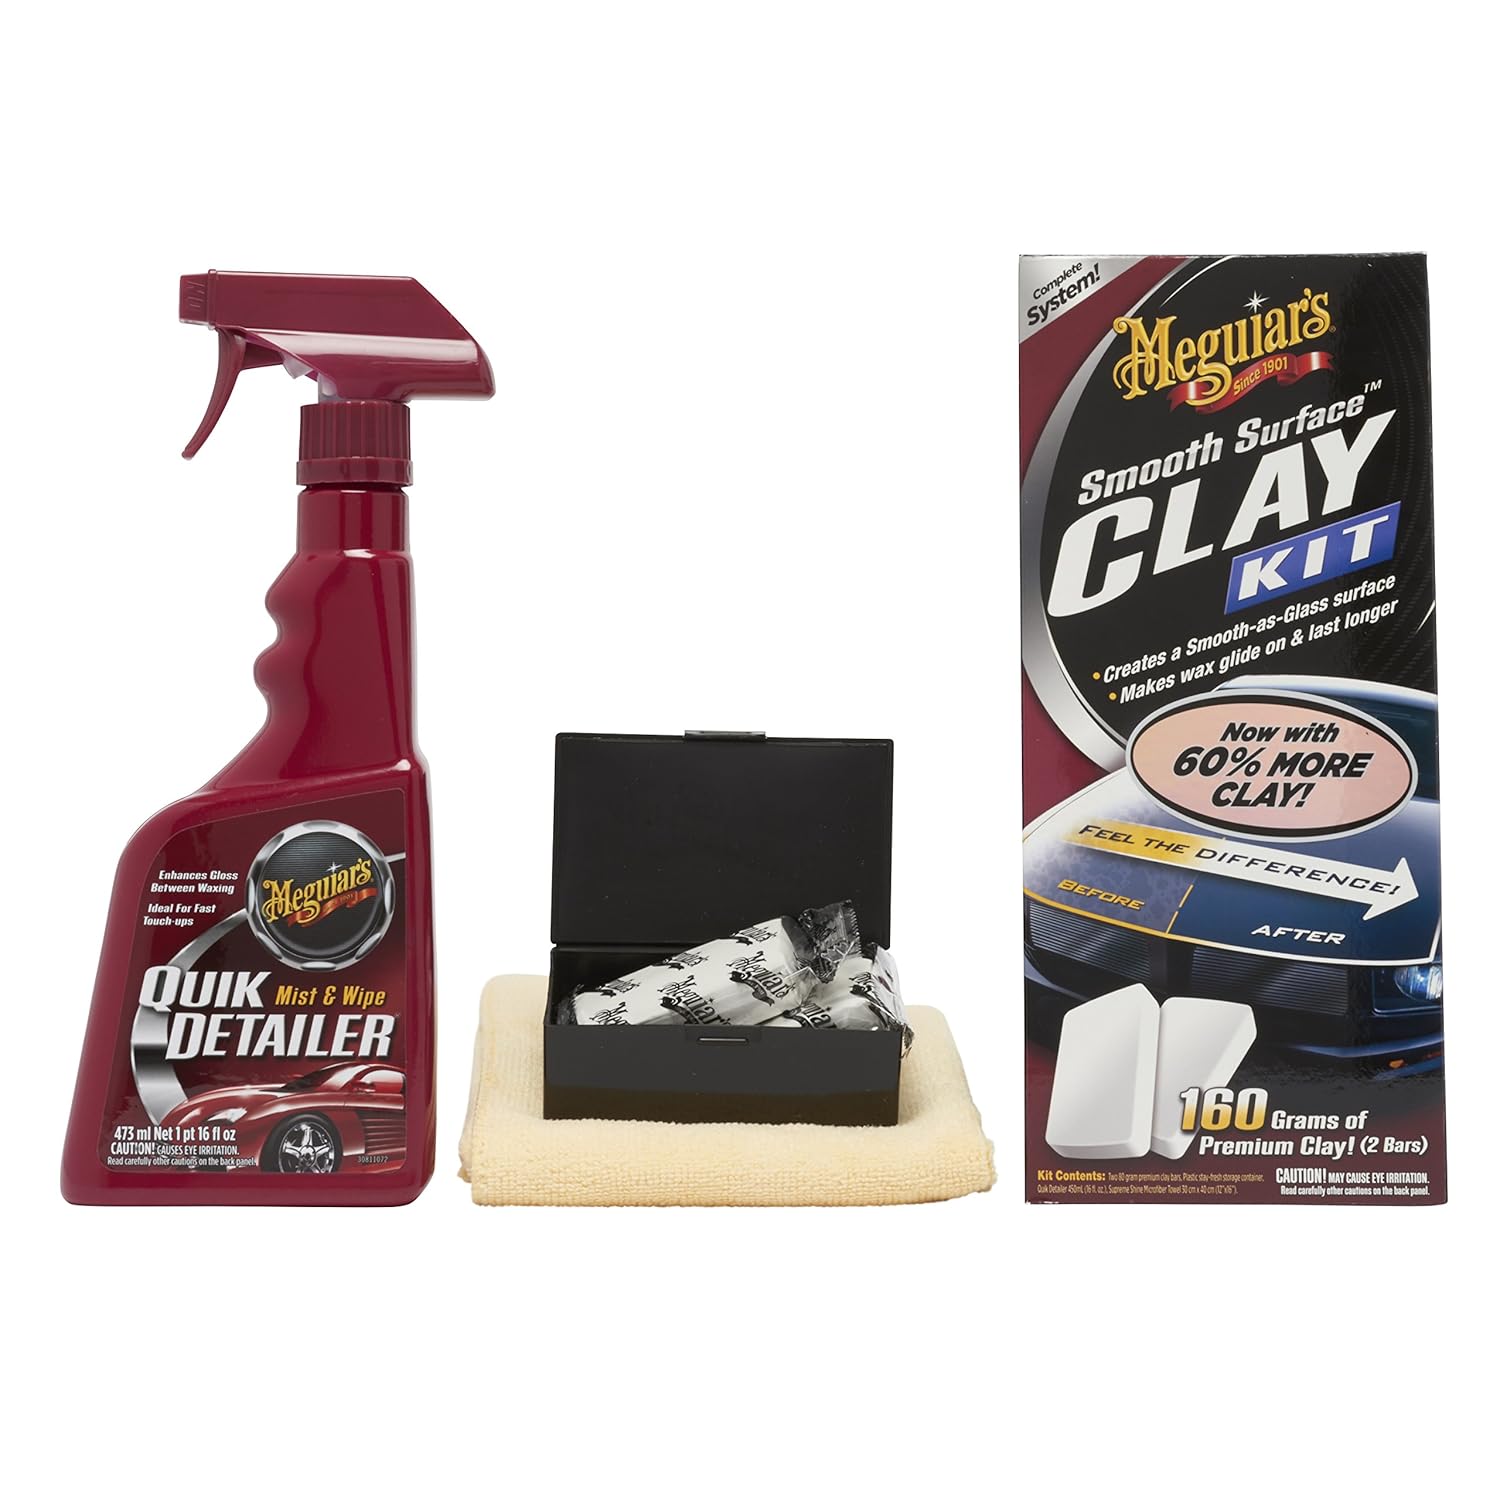
Most clay bar kits come with everything you need. That includes the clay, lubricant, and microfiber towel. Using them is simple, but time-consuming. I have a tendency to work from the top down when doing jobs like this – or at least the highest point of the job (so a soft top won’t need claying!).
Using the lubricant, liberally spray a small area that you want to clay bar. Around 12″ square works well. Once you’ve softened the clay and formed a flat tablet, get to work. Stroke the clay across the paintwork in one back and forth motion (or up and down – don’t work it around in circles.)
If you feel the clay sticking, use more lubricant. There are no hard and fast rules for how long you need to do this. It’s all done by feel.
Once you think you’ve done enough, rub your hand across the clayed area. You’re looking to feel something like glass – super smooth. If you can still feel something, then you haven’t finished. Claying a car properly can take hours. However, the results are definitely worth it, especially when it comes to those pesky swirl marks.
Wax On, Wax Off
You’ve cleaned the car, spent hours on clay barring, and now is the time to shine, quite literally.
There are hundreds of different high-quality waxes or polishes available to gearheads, you may already have a preferred brand, but let’s just run through some basics.
Not all waxes are the same. Some of them have a very slight abrasive quality to help remove ingrained dirt. Some are suitable for machine polishing. Others work best with hand polishing. And yet others are meant to be an all-purpose polish.
For what it’s worth, if you’ve spent five hours or so claying your car, you might as well make the most of your efforts. Pick the right polish to finish it off or it feels like half a job. Having said that, expensive doesn’t necessarily mean the best either.
We recommend waxing your car by hand. We’re old school (and proud.) Choose a wax that’s been designed for hand polishing. The most important thing here is to remember that direct sunlight on your car will make the job ten times harder.
If you can find a shaded area before you wax it, do so. Equally, if the paintwork has been in the sun all day, give it some time to cool off first. Most waxes set hard when applied to hot paintwork. While you’re still able to polish it off, it does make it harder.
So, the car has been cleaned, clayed and now cooled off, it’s time to get started.
Similar to claying your vehicle, you want to work in small sections. But, if you’re quick, it’s possible to do bigger sections like the hood in one go. Cover it totally in wax and then polishing it off, rather than doing sections of it. This applies to the rest of the vehicle as well.
The best action for polishing is the opposite of what’s needed when claying. You want a circular motion, both for the application of the wax, and the removal of it. Remember to keep folding your polishing cloth regularly so as not to get any contamination back on the paintwork.
Always use a different towel for application and removal. You may even want to have a third towel for the last stage. Be aware that some waxes are suitable for plastic trim or headlight lenses and some aren’t. Either way, they shouldn’t actually harm the plastic.
Once you have gone over the whole car, both applying the wax and removing it, most people would call it a day. But, I always do one final stage. Using another clean polishing cloth, I go start to finish, front to back with just the bare cloth, giving it one final polish. Not only does this give you a good opportunity to find any spots of wax that you’ve missed, but it allows for a closer inspection of the paintwork. Do you see any swirl marks?
The Result
Can there be anything more satisfying than giving your car’s paintwork a full detailing? And when it comes to removing swirl marks, there’s no substitute for quality products, expert knowledge, and a little elbow grease. Hopefully this guide has taught you all you need to know about getting rid of swirl marks in your bodywork.
Remember that a professional may charge you hundreds of dollars to do the job. That’s because you’re paying for the products, their expertise, knowledge, and time. If you have the time, then you’re halfway there. You may not get it 100% right the first time. After all, it’s a specialized talent, but with a little practice, you’ll make your car shine like new, in fact, better than new.
Is there an automotive subject or ‘how to‘ guide that you’d like more knowledge on? Why not get in touch with us and see what we can do.


